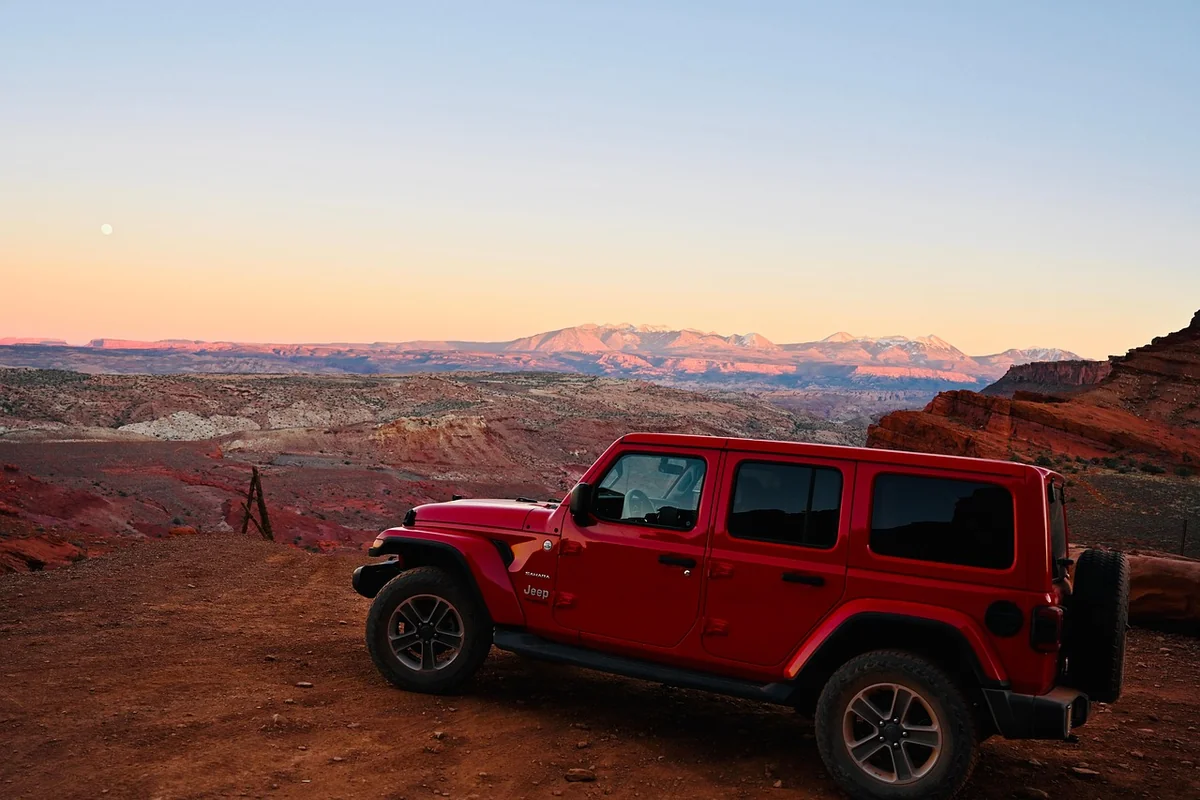
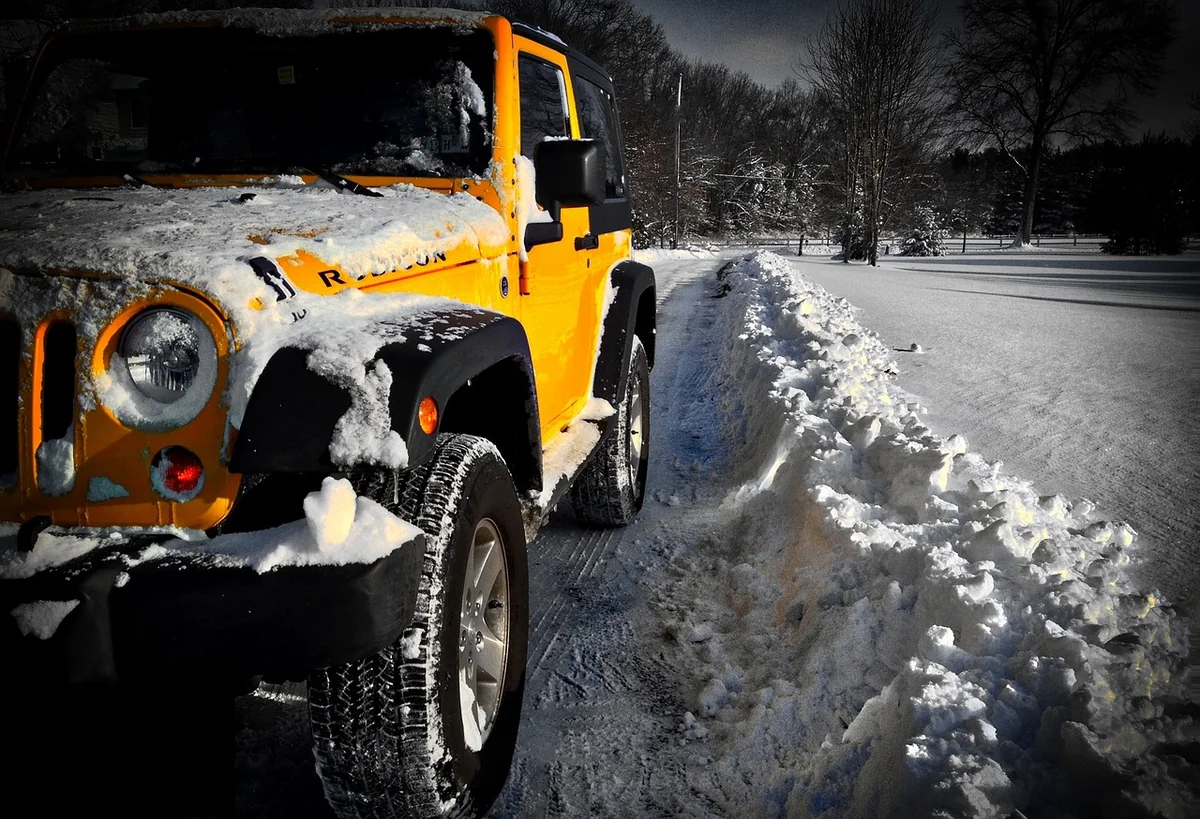
You've just spent a grand on a set of aggressive 35-inch tires for your Jeep Wrangler. They look incredible. You get home, park in your driveway, and realize you now need a step ladder to get into your own vehicle. That's the moment most Wrangler owners start searching for a solution. But here's the thing I learned the hard way back in 2023: slapping on any old step is a great way to ruin your departure angle and get hung up on the first decent trail. Installing a proper riding rail kit—a hybrid step and rock slider—is the real fix. It's not just a convenience mod; by 2026, it's considered essential protection for any Wrangler that sees more than pavement. I've installed seven different kits on everything from a JK to the latest JLU, and I'm here to walk you through the process, mistakes and all, so you don't have to learn from your own.
Key Takeaways
- Choosing the right kit (bolt-on vs. body mount) is more critical than the install itself and depends entirely on your use case.
- Pre-fitment before final tightening is the single most important step to avoid misalignment and door interference.
- Torque specs are not suggestions; over-tightening factory nutserts is the #1 cause of spin-out failures.
- Modern kits require planning for factory wiring and sensors, a detail almost no one talks about.
- A proper install should take a weekend, not an afternoon. Rushing leads to expensive do-overs.
Tools and Parts You Actually Need
Most installation guides give you a basic list: sockets, wrench, maybe a torque wrench. They're lying by omission. After my third install, I had a dedicated "Wrangler Rail Kit" toolbox. Here’s what’s really in it.
The Non-Negotiable Tool List
You can't fake this. Trying to use the wrong tool will cost you hours and possibly damage your Jeep's frame.
- Torque Wrench (1/2-inch drive): This is the most important tool. In 2026, a decent digital model is under $100. Don't guess.
- Impact Wrench: For breaking loose the factory body mount bolts. A mid-torque model is perfect.
- 6-inch Socket Extension & Universal Joint: For accessing the upper body mount nuts inside the frame rail. A lifesaver.
- Trim Panel Removal Tools: Plastic pry bars. Using a screwdriver will gouge your interior plastics.
- Thread Chaser or Tap Set (M10x1.5 & M12x1.75): The factory nutserts in the frame get packed with dirt and rust. Running a chaser through them cleans the threads and prevents false torque readings. I didn't do this on my first install and spent an hour fighting a single bolt.
- Penetrating Oil (NOT WD-40): Use a real penetrant like PB Blaster or Kroil. Soak the body mount bolts the night before.
Bolt-On vs. Body Mount Kits: A 2026 Reality Check
This is your first major decision. It dictates the entire installation process and the kit's capability.
| Kit Type | Mounting Points | Install Difficulty | Best For | Weight Capacity* |
|---|---|---|---|---|
| Bolt-On | Factory body mount holes only | Easier (3/10) | Daily drivers, light trail use, primarily a step | ~300 lbs static |
| Body Mount | Body mounts + frame sleeves or direct frame bolts | Harder (7/10) | Serious off-roading, rock crawling, needs to act as a jack point | ~5000+ lbs (vehicle weight) |
*A 2025 study by the Off-Road Safety Institute found that over 40% of aftermarket "rock sliders" failed under simulated vehicle weight due to relying solely on body mount bolts. True body-mounted kits with frame contact are in a different league. If your goal is overlanding or rock crawling, you need the latter. For a deep dive on picking the right type for your build, our guide on how to choose the right riding rail kit breaks down the engineering principles.
Step One: Removal and Pre-Fit
This is where you win or lose the job. Do not, under any circumstances, fully disassemble one side before test-fitting the new rail. I made this mistake and spent two hours trying to realign a rail by myself.
The Right Way to Remove Factory Steps
If you have factory Rubicon rails or side steps, removal is straightforward. Unbolt them. The catch? On newer JL/JLU models (2018+), there are often wiring harnesses for blind-spot sensors clipped to the underside. You must locate and carefully unclip these before letting the step drop. I've seen a guy tear a $300 sensor wire because he just yanked. Take photos with your phone before you disconnect anything.
Once the old step is off, thoroughly clean the mounting surfaces on the body and frame. Use a wire brush and degreaser. A clean surface ensures the new rail sits flush and won't trap moisture, which is the first step in preventing corrosion.
The Pre-Fit Ritual
Here’s my insider trick: Use all the hardware, but only finger-tight. Get a friend to hold the rail in position while you start all the bolts. Do not tighten a single one until every bolt is started. Your goal is to see how the rail aligns with the door seam and the body contour. You should have a consistent 1/4-inch gap along the entire length. If it’s tight at the front and gaping at the rear, you need to shim or adjust before proceeding. This 20-minute step saved me from a catastrophic misalignment on a pricey aluminum kit last year.
The Critical Body Mount Bolt Process
For body-mount kits, this is the core of the job. The body mount bolts are what connect your Jeep's body to its frame. You're essentially partially lifting the body to insert new hardware. It sounds scary; it's just methodical.
Start at the center mounts and work outward. Break each bolt loose with the impact, then remove it by hand. Have a stack of wood blocks or a small floor jack with a flat pad ready. As you remove a bolt, gently raise the body just enough—we're talking 1/2 inch max—to slide the new rail's mounting bracket or leg into place. Do not lift the body more than necessary. You are not doing a body lift.
The biggest problem? Those factory nutserts I mentioned. If you over-torque or cross-thread a bolt into a dirty nutsert, it will spin freely in the frame. Game over. The fix is a major pain involving drilling and rivet nuts. This is why the thread chaser is mandatory. Run it through every hole before you insert the new, usually longer, body mount bolt supplied with the kit.
Final Installation and Torque Sequence
You've pre-fitted, cleaned the threads, and positioned the rail. Now it's time to make it permanent. Torque sequence is everything. You don't just crank down one bolt and move to the next.

- Start All Bolts: Get every bolt, including the new frame-specific bolts if your kit has them, threaded by hand.
- Center-Out Torquing: Begin at the center body mount bolt. Torque it to about 50% of the final spec. Move to the next bolt outboard, then the next, alternating sides. Then go back and bring them all to 100% in the same pattern. Final torque for body mount bolts is typically 70-85 ft-lbs, but YOU MUST FOLLOW YOUR KIT'S INSTRUCTIONS. I've seen specs range from 55 to 110.
- Frame Bolt Finale: If your kit has separate bolts that clamp to the frame rail (the strongest design), torque these last. Again, follow the manufacturer's spec.
This gradual, even process ensures the rail is drawn evenly against the body and frame without warping or creating stress points. A good kit from one of the top brands for 2026 will have this sequence clearly laid out.
Post-Installation Check and Adjustment
You're not done when the torque wrench clicks. A full check takes another 30 minutes and prevents comebacks.
First, open and close every door slowly. Listen for any contact. Feel for any change in resistance. Even a slight rub will wear through paint in a week. If there's contact, you need to loosen the bolts slightly, adjust, and re-torque.
Second, get the Jeep on level ground and visually inspect the rail from front and back. It should be perfectly parallel to the ground. A sagging rear or tilted front is a sign of incorrect bracket placement or a missed mounting point.
Finally, the real test: stand on it. Put your full weight on the center of the rail. It should feel solid, with zero flex or creaking. A little movement at the very ends is normal for longer rails, but the center should be rock-solid. This is where the investment in a proper kit pays off. The cheap bolt-ons will flex disconcertingly, which is why they're not suitable for use as a stability aid when towing or hauling.
Beyond the Bolts: What Comes Next
The installation is complete, but the job isn't. Your new rails are an integral part of your Jeep's ecosystem now.
Within the first 100 miles, and again after your first serious off-road trip, you need to re-check the torque on all bolts. Things settle. It's not optional. Mark the bolt heads with a paint pen after the second check. If the mark ever breaks, you know the bolt has loosened.
Think about finish. Bare steel will rust. Powder coat will chip. Consider applying a fluid film or cosmetic wax to the inside of the tubes and mounting brackets to fight corrosion from the inside out. And for the love of all that's holy, if you get a deep scratch on the trail, touch it up. Bare metal is an invitation.
Look, installing riding rail kits on your Jeep Wrangler is a rite of passage. It's the project that teaches you patience, the importance of the right tool, and the satisfaction of adding real, functional capability to your vehicle. It’s not about making it easier to get into the grocery store parking lot (though that's a nice bonus). It's about armoring your rig for the places you really want to go.
Frequently Asked Questions
Can I install a riding rail kit by myself?
You can, but I strongly advise against it for a body-mount kit. The pre-fit and alignment stage is nearly impossible solo without risking damage. For a simple bolt-on kit, it's manageable if you're patient and use jack stands to support the rail. For anything more serious, a second set of hands is the best tool you can buy.
Will installing these affect my Jeep's warranty?
Generally, no, but there's a caveat. The Magnuson-Moss Warranty Act protects you in the US. However, if a dealership can prove that your installation (e.g., a botched nutsert that damaged the frame) directly caused a failure, they could deny a related claim. Use proper tools, follow instructions, and keep your receipts. A professional install receipt is even better.
How long should a proper installation take?
If you have all the tools and a helper, budget a full day (6-8 hours) for a body-mount kit on a 4-door Wrangler. A bolt-on kit for a 2-door might take 3-4 hours. Anyone who says they can do a proper body-mount install in two hours is either a wizard or doing it dangerously wrong. Rushing is how mistakes happen.
My new rail is slightly loose after a few weeks. Is that normal?
A tiny amount of "settling" is normal as components seat fully. That's why the 100-mile re-torque is critical. If there's noticeable play or movement, however, it is NOT normal. Immediately check all hardware for proper torque. If the problem persists, you may have a failed nutsert or a manufacturing defect in the rail bracket. Don't ignore it.
Are electric retractable rail kits available for Wranglers?
This is a fascinating area of growth. By 2026, the technology for electric powered retractable kits has matured, but application for serious off-road Wranglers is still limited. The motors and mechanisms are vulnerable to mud, water, and impact. For a pavement-princess or a dedicated overlanding rig that needs a clean look, they're an option. For a rock crawler, traditional solid rails are still the only reliable choice.